
Jump to Video
Divi Supreme Pro (and the associated required “Supreme Modules Lite“) is a Divi feature expander pack installed on LEANWI Divi websites. It has been purchased and licensed to your website through LEANWI.
This tutorial covers the Supreme Scheduled Elements Extension.
Topics in this tutorial:
- Enabling Scheduled Element in Divi Supreme Pro menu
- Example exercise: creating a notification section for library alerts
- Applying a schedule to the notification section
Enabling Scheduled Elements Extension
The Scheduled Element extension adds the ability to schedule a section, row, column, or module to appear/disappear from public view on your website, similar to how the “Schedule Post” and “PublishPress Future” plugin allow you to schedule WordPress posts on your website.
This can be an extremely useful function and potentially an alternative to using the WP Front Notification Bar if done well.
Prerequisite: before you can use the Schedule Elements feature, you will need to have the Divi Supreme Pro plugin installed and license key activated on your website.
Once you have the plugin installed and license key activated, the next step is to enable the “Scheduled Element” extension.
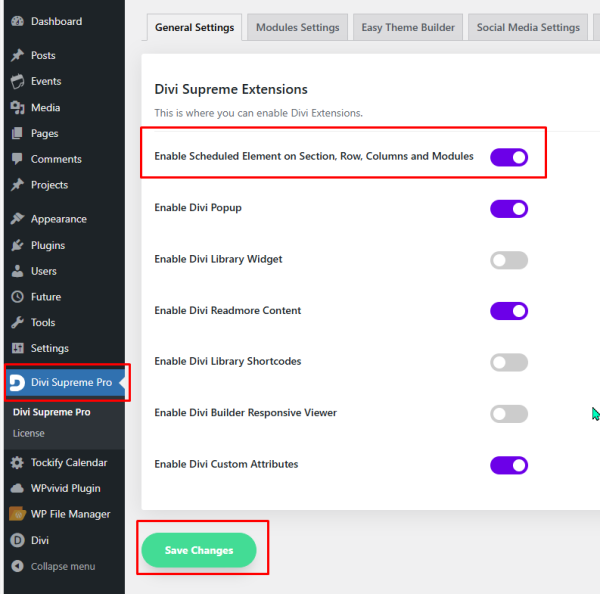
When the Scheduled Element slider is toggled to “On,” the Scheduled Element option will be activated in the Visibility section of the Advanced tab on any Divi Section, Row, Column, or Module.
Creating a Notification Section for a Scheduled Element
The example we will follow here is creating a scheduled section for displaying library closure messages on a home page.
—-
While you can schedule visibility for any Divi module, row, column, or section, by scheduling an entire section to appear and disappear has the advantage of allowing you to include several elements (modules, even multiple rows) and avoid extra empty spaces on your site when a module is not visible.
We want to insert a notification on the Blue Pine Library website homepage:
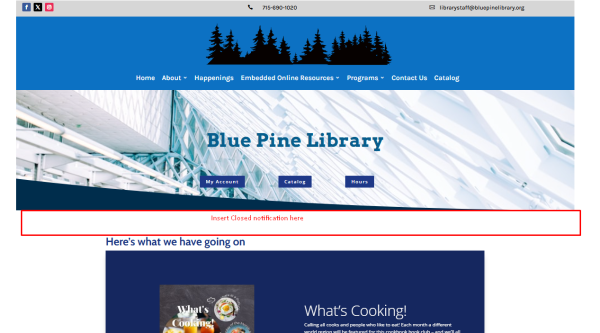
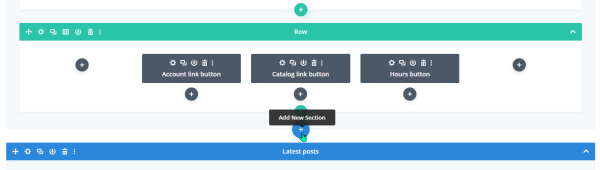
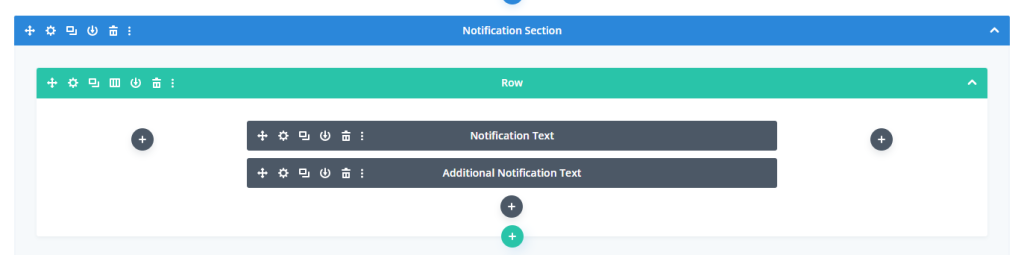
Our first step is to use the regular Divi builder to add a Section, a Row, and a Text (or additional) modules for our notification area. We are going to add this beneath the row with the “My Account,” “Catalog,” and “Hours” button, and before the post slider section.
I am going to add a basic section, full-width row, and basic text module to my notification section. I’m going to rename the section “Notification section,” and the module, “Notification Text”

Next, I’m going to add text and some design elements:
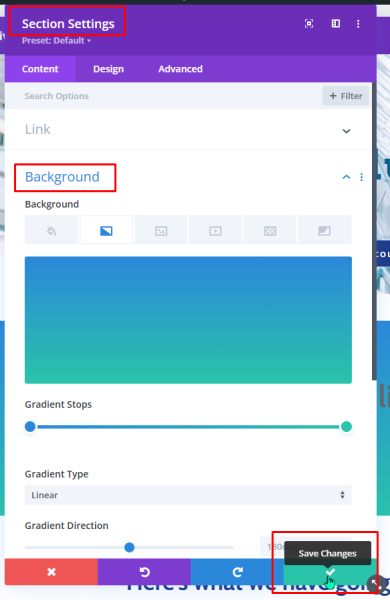
- Section: add a background to fill the entire section and draw attention to the notification. Do this by going into section settings and selecting background.
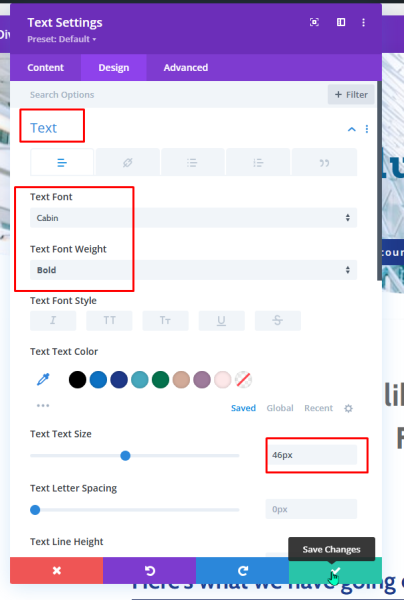
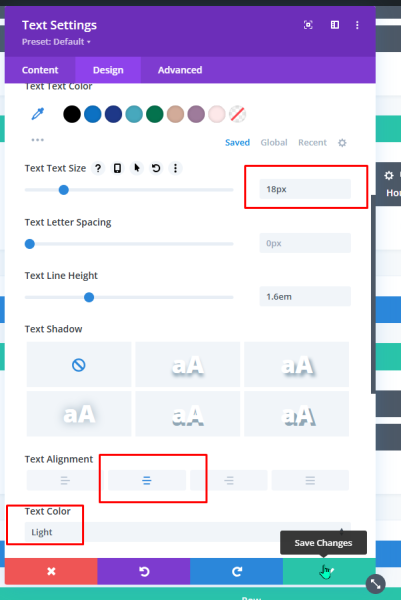
- Format the Notification Text to be large and eye-catching. Enter your text into the text box, then use the “Text” menu in the Design tab to select font, weight, size, alignment, and color. These are only suggestions – your design choices may vary depending on your site.
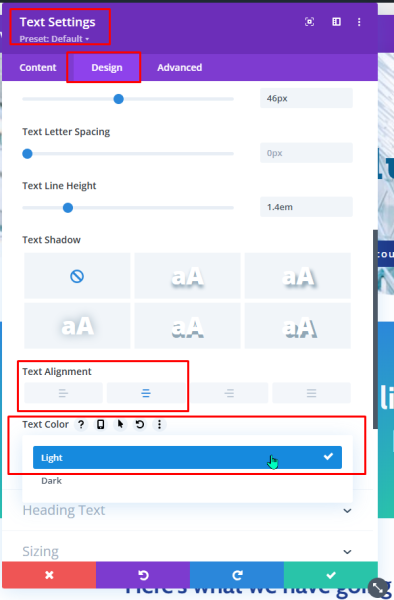
You may choose at this point to add a second text box to include additional information. I’m also going to change my row setup to 1/4, 1/2, 1/4 as a design choice. I’m going to apply similar text design (white font, larger than default size, etc.). Again, your design choices may vary.
Once you’re happy with the look of your notification section, it’s time to schedule it.
Scheduling an element
How it works:
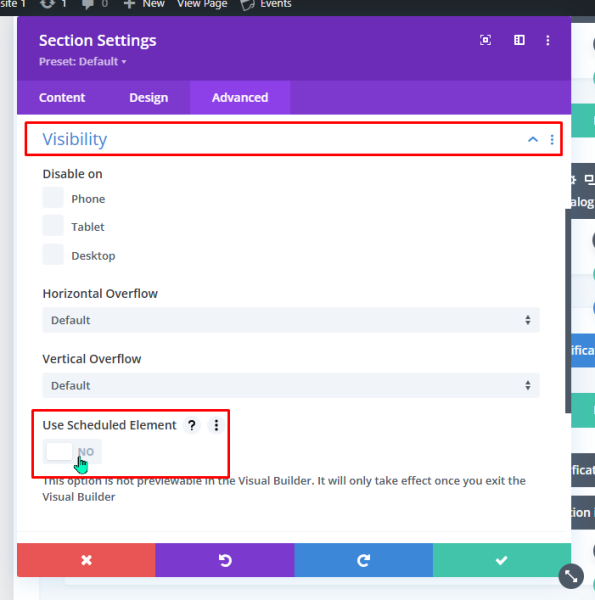
When this feature is toggled on, this adds a new option, “Use Scheduled Element,” to the Visibility menu item in the “Advanced” tab of any Divi Section, Row, or Module.
We are going to schedule the visibility for our notification section.
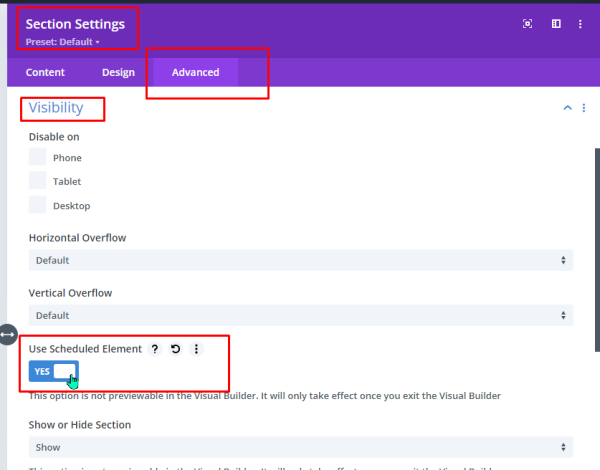
When toggled to Yes, this activates a series of options to change visibility of a section, row, column, or module based on date/time, business hours, or user type.
To schedule a post to appear between a specific date and time, scroll down and toggle “Use Between Date/Time” to “yes.” This will activate the “End Date/Time” calendar.
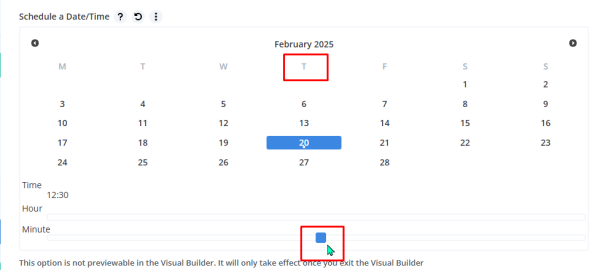
NOTE: the calendar starts the work week on MONDAY, so days will appear offset from a common US calendar view.
Select the date, then use the slider to adjust the hour/minute as needed. Default time is midnight.
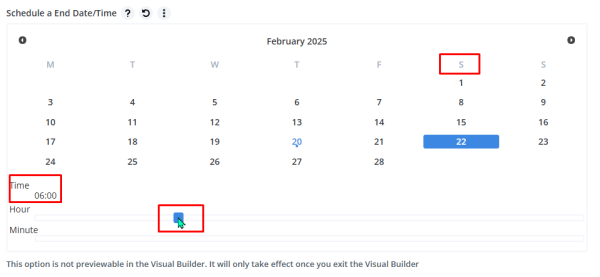
Repeat for the End Date/Time
Also note: the on/off visibility is not pre-viewable. You must exit the visual builder to see whether the scheduled element is active or not.
There is the additional option of displaying only during business hours. For business hours, you can set your hours in the menu.
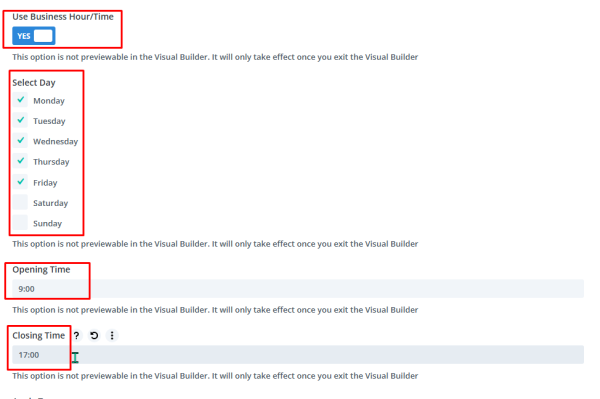
Note: there currently isn’t the option to set different business hours for different days.