Jump to Video
The Print, PDF & Email by PrintFriendly plugin is a tool for formatting a page on your website for easy printing by a website visitor. It allows website visitors to convert web pages to PDFs and to share via email.
For more information on plugins in general, see the “Website Plugins” post.
This tutorial will cover:
Installing Print, PDF & Email by PrintFriendly
The Print, PDF & Email by PrintFriendly plugin allows a website visitor to customize how a webpage will look for printing/saving as a PDF/emailing.To see if you have the plugin installed, click on “Plugins” in the left-hand black menu bar on your WordPress dashboard.
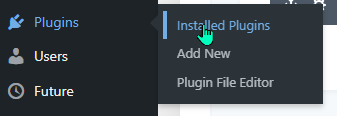
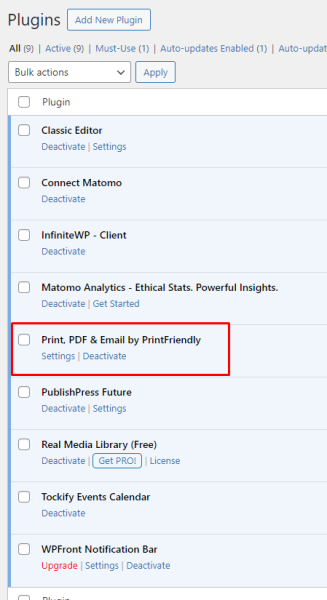
If you do not see this plugin, see “Installing a new plugin” for instructions.
Print, PDF & Email by PrintFriendly Setup
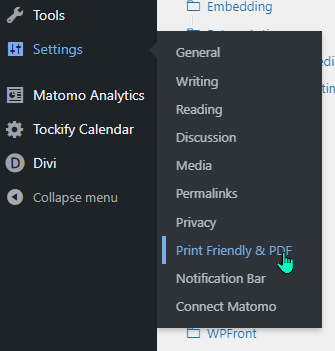
To access the Print, PDF & Email by PrintFriendly settings, hover over “Settings” on the lefthand side of the WordPress dashboard and click on “PrintFriendly &PDF.”
Checklist of One-Time Setup
There is a Pro/paid version of the plugin, but for most the free version will be adequate.
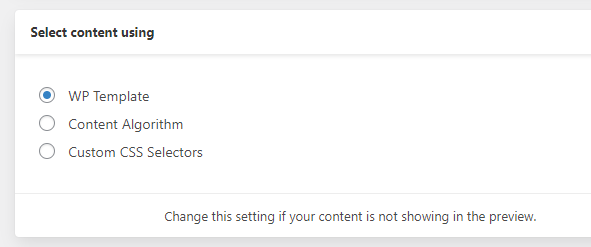
Section 1: Content selection
- Select Content Using – select “WP Template.
Section 2: Button Style
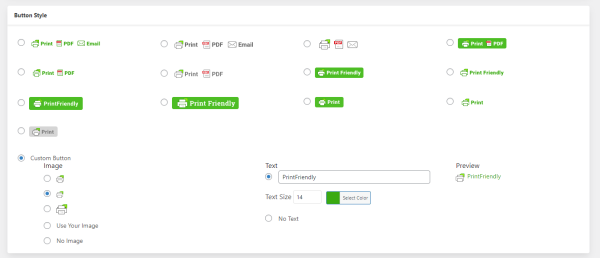
Select a button style from the available options. There are custom styles available.
Section 3: Button Position
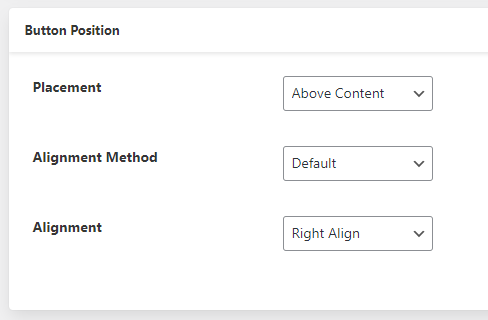
For most cases, select “Above Content”, default alignment method, and Alignment: Right Align.
Section 4: Button Display
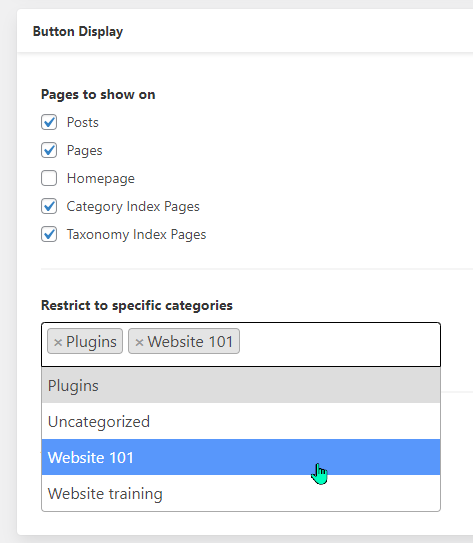
This is where you choose which pages on your website display the print option. You may only want the print option to display on certain category pages or only on pages, or only on posts.
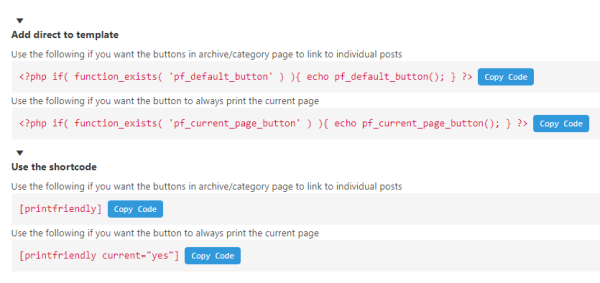
You can also add the icon to specific pages using php or shortcode. If you need assistance with this, send a help ticket.
Save options
Make sure you save your work.
Once the settings are set and saved, the Print/Email button will automatically appear on the webpages that match the settings under the Button Display section.
Using Print, PDF & Email by PrintFriendly
After the plugin has been installed and the settings complete, the Print & Email button will automatically appear on the select pages.
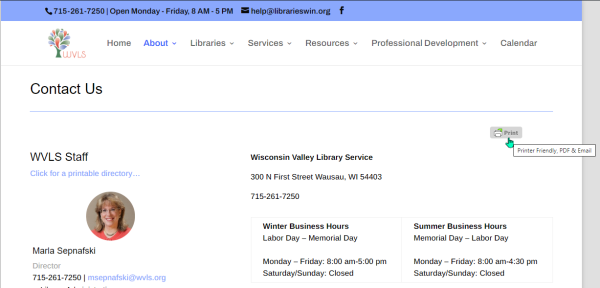
When a website visitor clicks on the button, the plugin will generate a streamlined content view that automatically removes exteraneous webpage content such as menus, headers, sidebars, etc.
The resulting page will appear in a preview window with some customizable options:
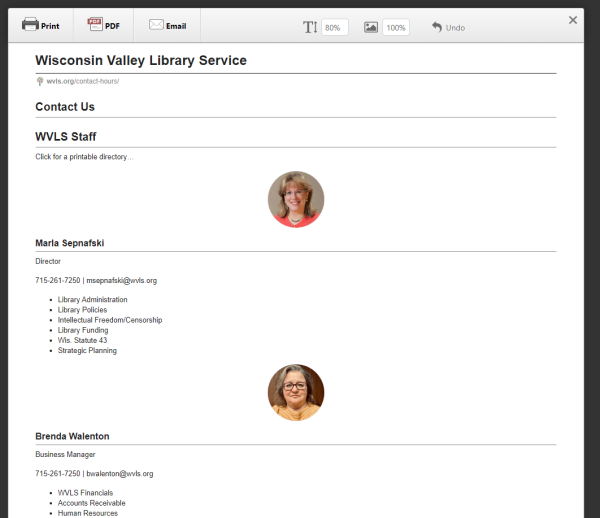
As you hover over sections, the option to delete areas will appear:

You can increase or decrease text size:

And increase, decrease, or remove images (by selecting “0”):

Once the page is formatted, the user can select “Print,” “PDF,” or “Email” for saving the content:


