Jump to Video
Note: While this webpage is technically a blog post, I am using the Divi Builder so I can include modules in the post and I have disabled the Featured Image from appearing at the top of the permalink page. So what you see here is not what you will get on your library website.
Introduction
Blog posts are likely 90% of the work you will do on your websites. Most LEANWI websites are set up to have blog posts automatically go to at least two locations on your site: a blog (slider module and/or simple blog module) and the blog post’s permalink webpage. Once you create the blog post and add a featured image, where it appears is automated. You can schedule posts to appear at future dates, and if you use a plugin, you can also tell your website to remove a post after a certain date.
Blog posts on most LEANWI websites are created using WordPress, not the Divi builder.
This guide will show you the following:
Creating a New Blog Post: What you will need
*Not all LEANWI websites are designed 100% alike. Watch for the **Experiences Differ** disclaimer for points where your website may behave differently than others.
What you will need:
- Your post title
- Tip: will be used for your permalink “slug” so consider length and descriptiveness
- Your post content (post text)
- Categories where you want your post to appear **Experiences Differ**
- Featured Image picture in JPG or PNG format
- size 795px x 500px (made in Canva, for example) **Experiences Differ**
- saved with a file name appropriate for Alt text
- Avoid using text in the Featured Image. Screen readers and web crawlers cannot read text in an image.
- The date when you want the post to begin appearing on your website (if not immediately)
- The date you want the post to disappear from your website (if applicable)
- requires the PublishPress Future plugin
- Any additional documents/webpages you would like to have linked from your post.
- Most often PDF format for documents.
If you’re a checklist person, here is a downloadable version you can use to organize your posts:
- Word document: WordPress Basic Blog Post Checklist
- Google Doc: WordPress Basic Blog Post Checklist
- PDF document: WordPress Basic Blog Post Checklist
Step 1: Create a new post
Step one: Create a new post with permalink.
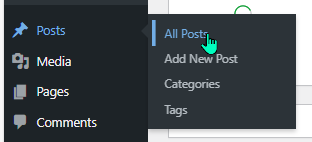
From your website’s dashboard, click “Posts” –> “Add New.”
Note: Do NOT click on “Use The Divi Builder” – we will be creating a post using WordPress.
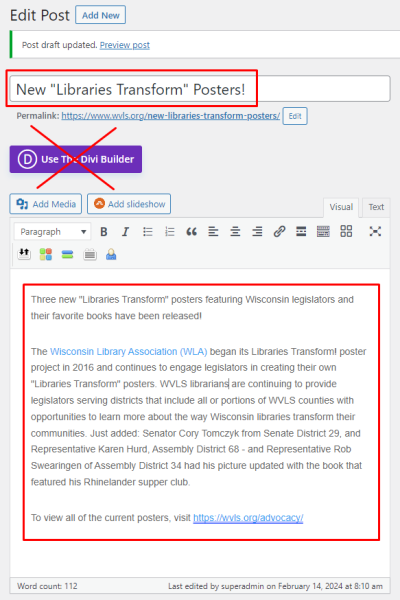
Give your post a title and type the content you want people to know about in the text box.
Title and permalink
After you start adding content text, a “Permalink” will appear under the title:
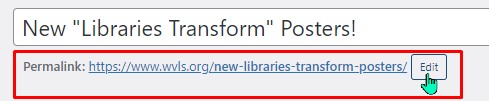
This will be the link on your website that will take you directly to the blog post. It automatically fills in the link “slug” (the bold part at the end) with the post title, but you can change it by clicking the “Edit” button. Note – it can be anything, but it must be unique to your website. You can’t have two slugs called “summer-reading.”
Tips for post content
-
- DO NOT just upload a picture of your event poster. Screen readers and web crawlers cannot read text on an image. Plus it just looks silly.
- Place the MOST IMPORTANT information at the very front of your post (first 200 characters), e.g.,
- Event title
- Date and time
- Location
- Target audience (if not obvious from title)
- Efficiency pro tip: use the same marketing text for your post content, press release, social media marketing messages, etc.
- Optional: to make sure the most pertinent information appears in the post slider, use a post excerpt (see instructions below)
- Do not attempt to use a large amount of formatting or special content – keep it simple.
- Best practice – write out full links to additional content (if they aren’t extraordinarily long) and hyperlink the hyperlink rather than embedding the hyperlink in text (this is more reliable for those using screen readers and search enging crawlers)
- Good: Visit our Summer Reading page at www.yourlibrarypage.org/summer-reading for more information!
- Less good: Visit our Summer Reading page for more information!
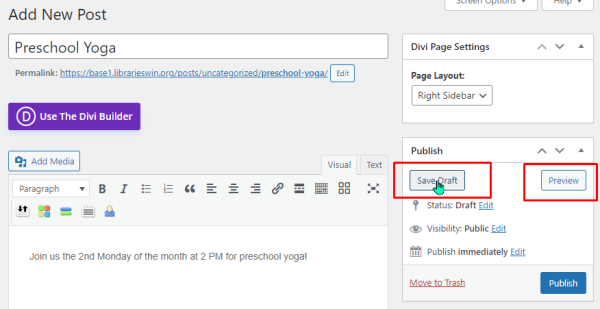
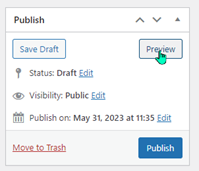
Save Draft and Preview Work
The Publish widget is on the right-hand side of the post content box. Be sure to save your drafts frequently. You can also preview your work in a new tab by clicking “Preview.”
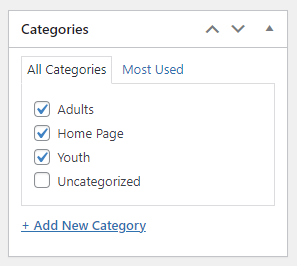
Step 2: Select categories
Step 2: select the category(ies) where you want the post to appear
The Category widget box appears on the right-hand side of the text box.
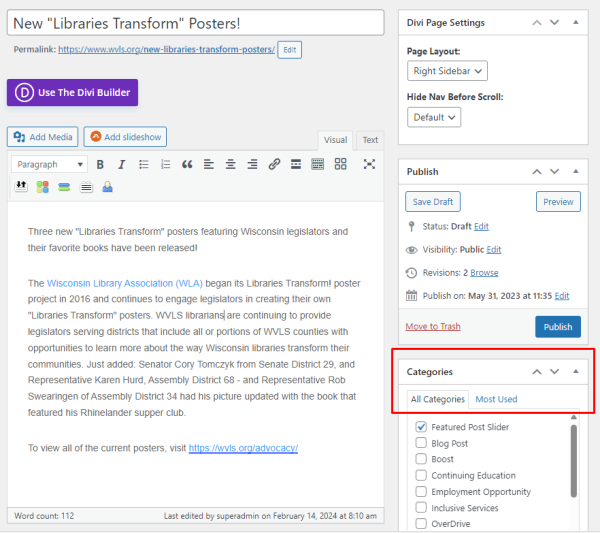
WordPress will automatically assign a post the “Uncategorized” category.
You must select at least one category if you want your post to appear anywhere on your webpage [**Experiences Differ** In some cases, the homepage post slider *may* be set up to show uncategorized posts, but this seems rare.]
Which category/categories will depend on how your website blog modules are set up.
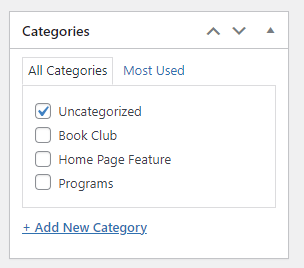
Most common categories:
-
- Home – Home Page / Home Page Feature / Home Page Post / variation on “Home” / Slider / Feature
- Programming – Programs / Adult / Youth / Teens / Book Club / Summer Reading
- Collection – Collection Highlight / History
- Groups/Events – Friends / Book Sale / Library Board
Likely 90% of the time you will be posting to the Home page, next most often to a program page. If you want the post to appear on other pages (Adult, Programs, Children), you will need to select those categories. You can select more than one category for a post.
If you have questions about which categories are connected to which blog module, send in a help ticket.
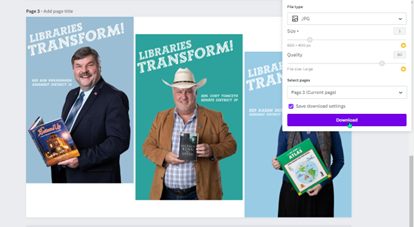
Step 3: Set the featured image
Step 3: set featured image
This is where you will need that right-sized image in JPG or PNG format uploaded to your website.
One easy way is to create a “Blog Post” template in Canva set up to 650 x 400 size [**Experiences Differ** In some cases, a better post slider size is 200 x 300].
For this post I am going to use three individual JPG images, drop them into a Canva 650 x 400 square, then download the final image as a JPG.
There are TWO ways of adding this file to your featured image in your post.
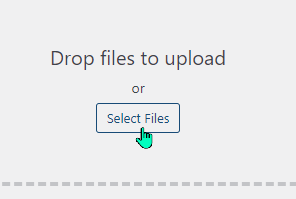
Option A begins with uploading the image file to the website Media Library first, then clicking and selecting “Featured Image” in the post last.
Option B begins with clicking “Featured Image” in the post first, then uploading the image file to Media Library after.
OPTION A: Upload the image to the Media Library (from the dashboard) |
|
OPTION B: Upload the image by selecting “Featured Image” in the post |
|
Once I have that JPG, I will upload it to my website’s media gallery.
Back in my blog post editor, I will set this as my featured image:
|
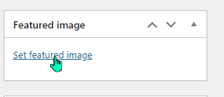
Inside the post, find the “Featured Image Widget” (on the lower right-hand side):
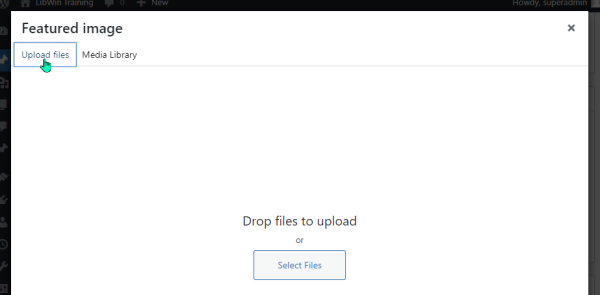
Select “Upload files” in the Featured image menu
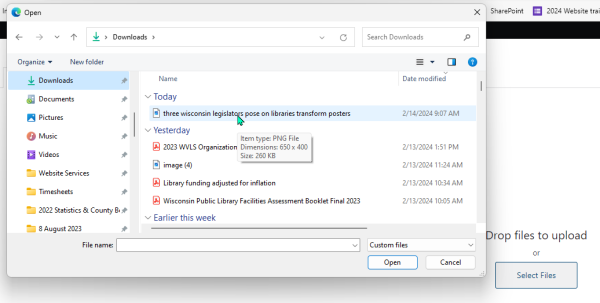
Select the image file:
|


From here, the steps are the same.
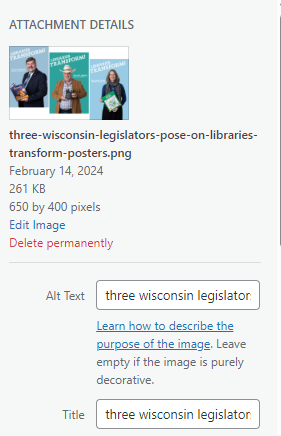
Add Alternative Text (Alt Text) to the image
A hint about Alt+Text – this greatly increases the accessibility of your website. Use 50-250 characters to describe your image.
Tip: when you save your image use your Alt+Text as the name of the image file. Example: three wisconsin state representatives posing on libraries transform posters.png
Alt+text does not need to follow standard punctuation or capitalization rules as it normally will only be “read” by a computer an not by human eyes.
For more information on Alt+Text visit: https://training.librarieswin.org/website-training/alttext/
When we select our featured image, there will be a place to add Alt Text on the right hand side. If you have already used Alt Text to name your image, all you need to do is copy the text from the Title box below and paste it into the Alt Text box:
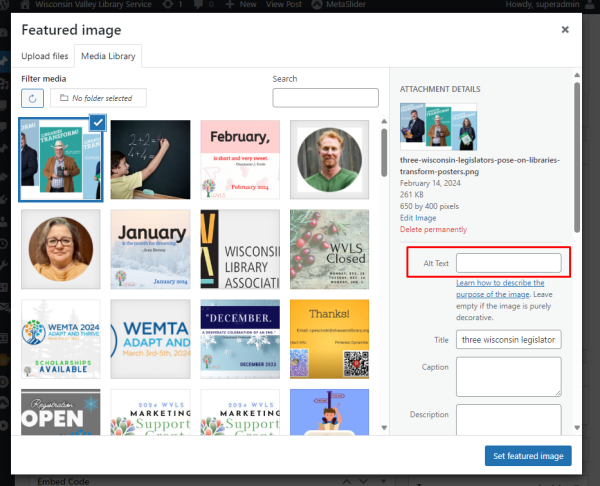
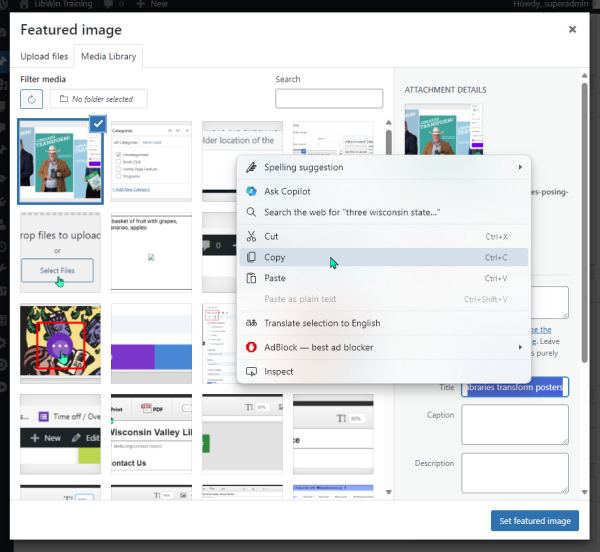
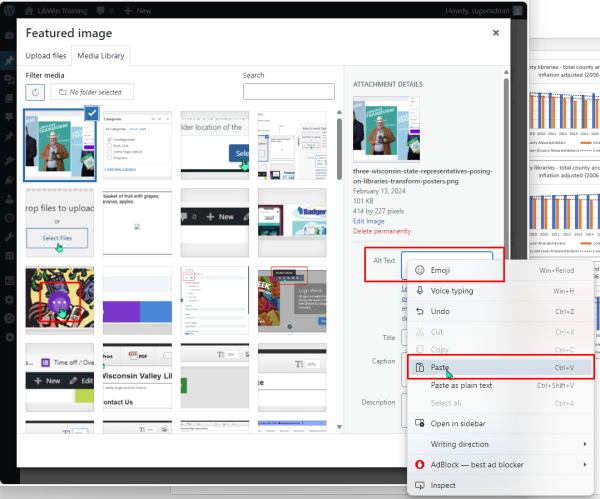
Select “Set Featured Image”
Note: the “Featured Image” will follow your post around the internet and be attached to any social media shares you make directly from your website. It is a good idea to select an image that is unique and recognizable to the content of your blog post.
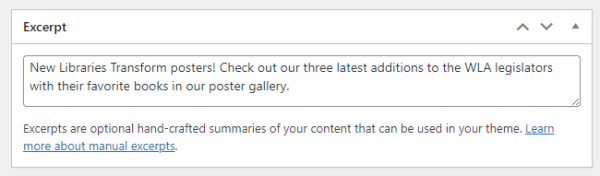
Step 4: Add a post excerpt (optional)
Add a post excerpt
A post excerpt is described by WordPress as, “optional hand-crafted summaries of your content that can be used in your theme.”
Yes, hand-crafted is another way of saying more work. However, there are some benefits to using a post excerpt.
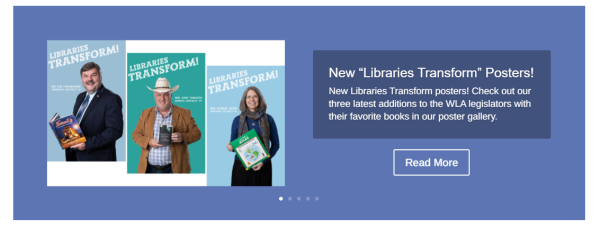
Our example post has 831 characters in the body text. Our post slider on the home page is set by default to show the first 200 characters of the post content, which means the content will be cut off. Example:
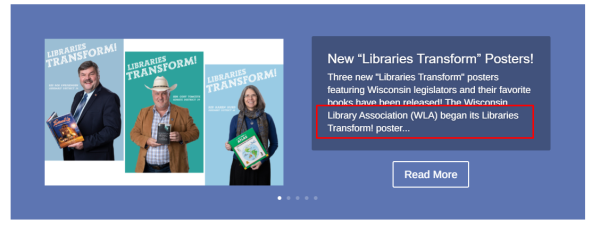
If you want to make sure that what people see in the post slider contains the most important information right up front and doesn’t get cut off, you can create a post excerpt of under 200 characters.
The Excerpt widget is usually located below the post content editor box.

Text added here will automatically appear on the post slider or blog module:
Finishing up: Saving, Previewing, Scheduling, and Setting Expiration Date for a Blog Post
Saving and Previewing your Post
Note, if it’s taking you a while to finish a post (like as long as this one is taking me), I highly recommend clicking “Save Draft” periodically.
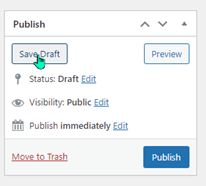
You can also preview your post by clicking “Preview” – you don’t need to have your post published to be able to see what it looks like. Clicking “Preview” will open the draft changes to post in a new tab. You can refresh this tab any time after you click “Safe Draft” to see the new changes.
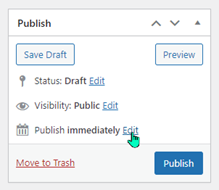
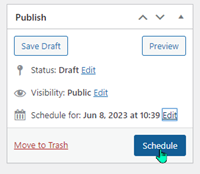
Scheduling a post
There are some additional useful functions in the Publish widget.
If you are creating a post but you don’t want it to be visible until a future date, you can choose to change the “Publish immediately” default to future date:
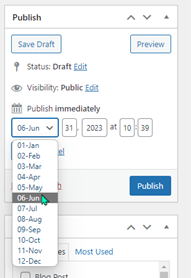
Note: you can also use this trick to bump and old blog post to the top of your published posts list. Example: you published a Summer Reading post in 2022, but you want to reuse it in 2023. Simply change the date in the dropdown to the current year and the post will now appear to be published on a new date.
Setting an expiration (unpublish) date for a post
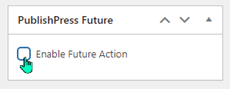
If you have installed the “PublishPress Future” plugin (See “PublishPress Future – future action” https://training.librarieswin.org/website-101/setting-future-action/), you will have the widget with the option to set a Future Action. This will remove a post from selected areas/all areas of your website after a set date/time.
By default, it will set the post to change status in a week, but you can change this to any date you like.
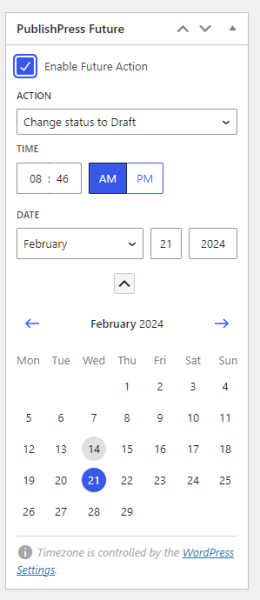
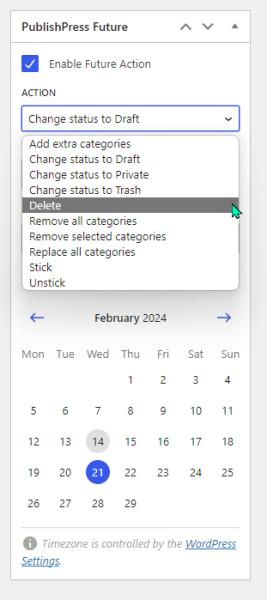
Also by default it will change the post status to “Draft.” This means it will disappear from your website, but it will still appear in your posts list (so you can recycle for future use or choose to delete later). But you can also change this to other options using the “action” dropdown.
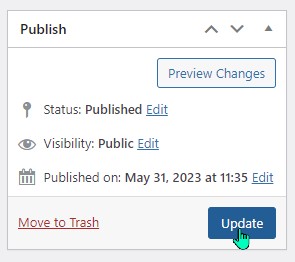
Publish your post
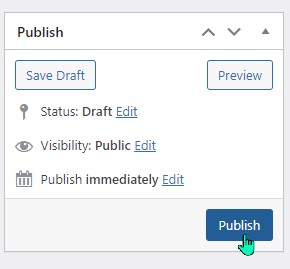
Once you’re ready go, you can publish using the Publish widget.
If you make changes after you publish a post, you simply need to click “update” for those changes to become publicly visible.
Check your work
Last step is to check all the places you think the post should appear – home page, any program/other pages, permalink.
More tips
For more tips on managing posts using the Quick Edit menu, read POST QUICK EDIT AND BULK ACTIONS EDIT https://training.librarieswin.org/website-101/post-quick-edit/
Removing a blog post
Removing a blog post
There are a couple of methods to remove an outdated/incorrect blog post from your website.
REMINDER: you cannot remove a blog post using the front-end Divi visual editor. Blog posts must be removed from the “Posts” menu on your WordPress Dashboard.
When you click on “All Posts,” you will see a list of all the posts on your website. Note in this example list some posts have been scheduled for a future action (rightmost column – change to draft) and some posts are already in Draft status which means they are no longer appearing on the post slider.
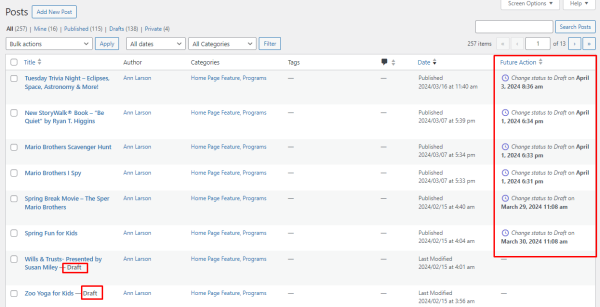
If you didn’t use the Future Action plugin to schedule a post to be removed, or if you need to remove one before the scheduled time, you can easily do it from this menu.
I will highlight one method here. For more details, see “Post Quick Edit” https://training.librarieswin.org/website-101/post-quick-edit/
Hover over the title of the post you want to remove. A menu will pop up. Click on “Quick Edit.”
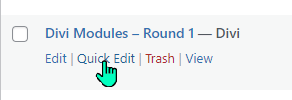
This will open the Quick Edit menu.
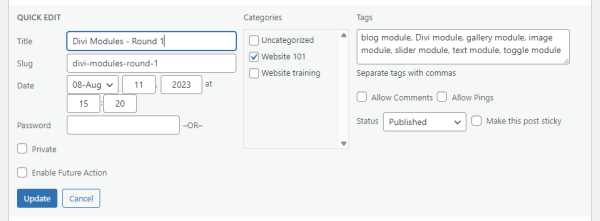
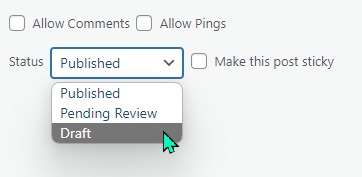
Find the “Status” dropdown option and select “Draft.”
And Update to save changes.
This will keep the original post, but it will no longer appear in any post sliders or blog post collections on your website.
How Blog Posts Appear on Your Website
Post Slider and Blog modules
Posts you create for your website automatically appear on your website in any Divi Post Slider or Blog modules set to display posts from the designated category you chose when you created the post.
Click here to learn more
Blog Post Slider
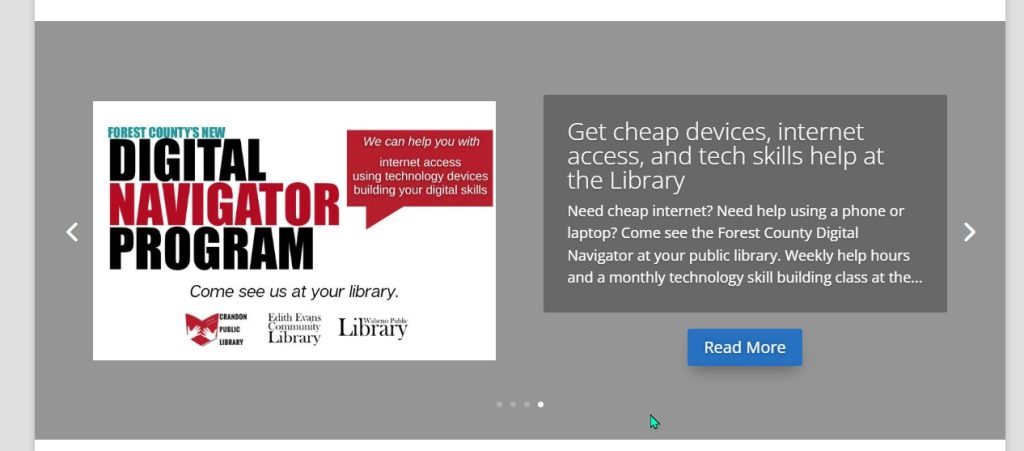
Many websites have a blog post slider right up top on the home page:
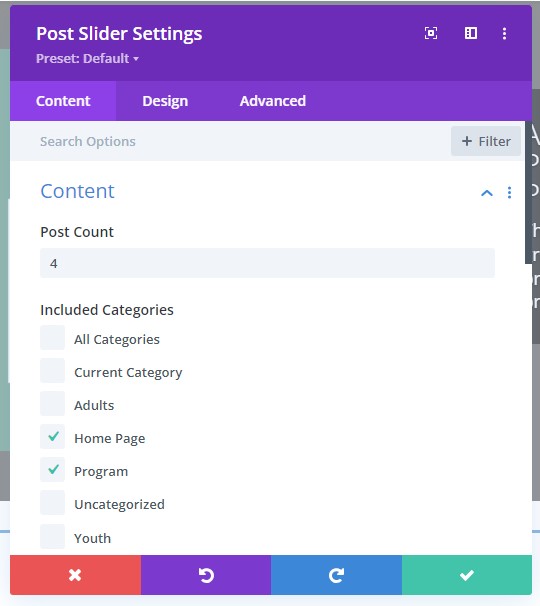
This slider gets “autofilled” with information from the blog posts you create. To see what this looks like behind the scenes, you can open the Divi visual editor and click on the gear icon in the BLACK module box where the posts appear:
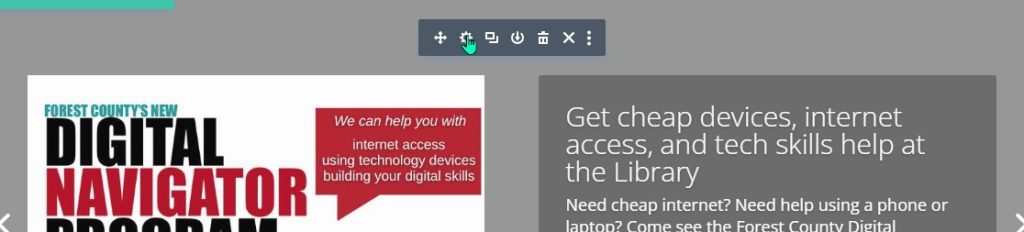
This opens the module menu that shows us that the module is a “Posts Slider.” The settings indicate that it shows the 4 most recent posts that were posted in the categories of “Home Page” and “Program.”
Click here to learn more
Simple Blog Module
The main difference between a “Post Slider” and a “Blog” module the slider literally slides post over a single space. A Blog is a set of stationary images that usually take up a larger space on a page – and the amount of space changes depending on the number in the “Post Count” line.
Often a “Blog” module is used on other pages of your website, and often which page is designated by the target category in the Blog module. Example: on the Crandon Public Library website, the adult programs page has a “Blog” module that displays 4 posts from the “Adults” category:

Once you understand which categories are connected to which modules on which pages (ha!), and you check the appropriate categories, these all land on these pages automatically – no extra work on your part.
Blog Post Permalink
There is one other place your blog post appears: at the post’s permalink website. When you create a post, that post is assigned a permanent direct link to a webpage on your website.
You can find this when you create a new post – at the top of the post creation page beneath the title.

Any time somebody clicks on the blog post (from the slider or regular blog module), it takes the reader to the permalink page.
Notes on permalinks and featured images
Note on the permalink and featured images:
If you click on “Read More” in your post slider or blog post or if you copy/paste the permalink right into a browser, you will see the webpage with the complete blog post.
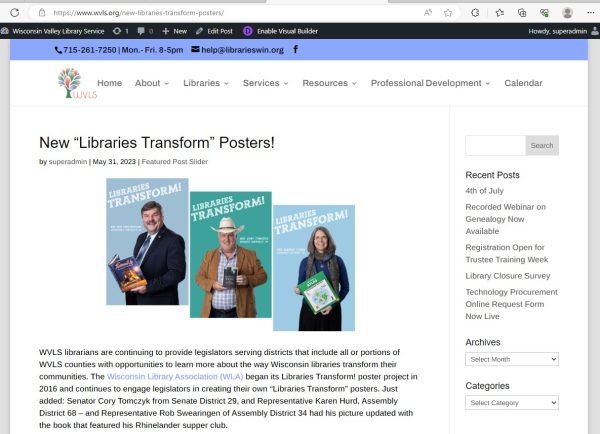
The “featured image” is what appears above the text. This is where size really matters – it will always work best with the 16:9 / 650 x 400 ratio image. If you want other images in your blog post, or if you want different sizes, you can include those in your original post, but know that the feature image will still appear on the permanent link page – and will be attached to an internet searches, social media shares, or other places the permalink of the post appears on the internet.
Some post sliders work well with various sized featured images, but once you click on the permalink page, you will see that it automatically cuts off the parts outside of the 16:9 ratio. You won’t be able to control which parts of the image appear. Other post modules are stuck with the 16:9 ratio. Your website experience may vary.
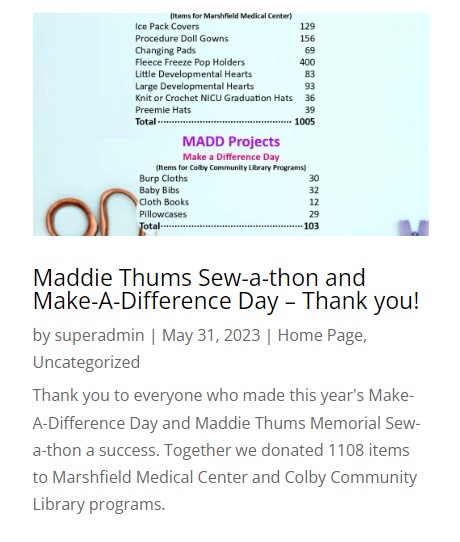
Example: Blog post using 8 ½ x 11 poster as featured image. Note the blog post cuts off the top and bottom, and the same top/bottom parts are cut off in the permalink.