Congratulations! Your library has created a new logo – now it’s time to update your website.
There are generally three locations where your logo appears on your website (from top to bottom):
This tutorial will demonstrate how to update these menus on your website. (Please note: your website design may vary – if you need assistance locating/changing a logo on your website please submit a helpdesk ticket.)
The first step in adding a new logo to your website is to upload the logo file your media gallery.
You will need a couple of variations.
- For your Site Identity icon, you will need a square logo at least 512 x 512 pixels. Do not include any text.
- For the regular logo in the primary (dropdown) menu, square or rectangular formats are fine. I recommend a large size as you can use the same file but different sizes on your page.
1. Site Identity Logo
The topmost location of a website logo is on the browser tab.

While this logo isn’t strictly necessary, it is a nice personalization tool – and if you have already personalized this, it is important to update this one as well as any other logos on your site.
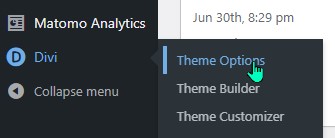
This logo is accessed through the Divi Theme Customizer on the left side of the main dashboard page.
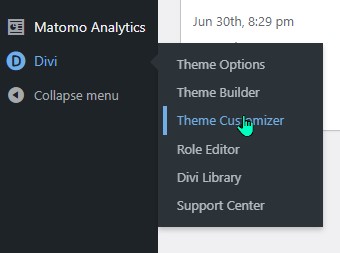
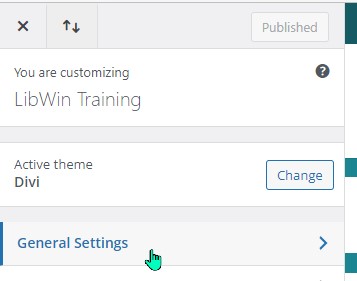
Once the Theme Customizer is open, click on the “General Settings” link:
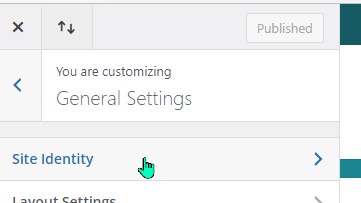
Next, select “Site Identity”
This will bring you to the menu for the Site Title, Tagline, and Site Icon. Click “Change image” to select your new logo from the Media gallery:
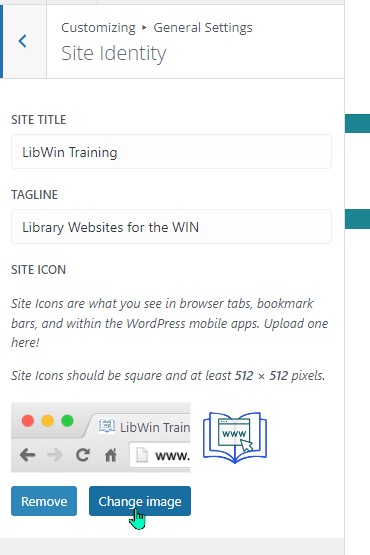
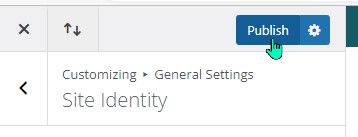
Once finish, click on “Publish” at the top right of the menu, and your site identity icon will be updated.
