Jump to Videos
Introduction
LEANWI Website Team is going to begin promoting SharePoint at a means of both managing website content and workflows and improving website accessibility.
The process of using an online cloud service to manage documents on a WordPress website has several advantages:
- Removes the step of uploading a documents to the WordPress Media Library and replaces it with a link to an externally saved/shared document.
- Allows sharing of view-only versions of Word/Excel/PowerPoint (Google Doc/Sheets/Presentation) documents which can be made to be compliant more easily than PDF documents.
- Allows library staff the ability to edit linked documents without needing to re-upload and replace links on the website.
- Reduces the amount of file storage directly on the website, which can eventually negatively impact website performance.
There is a learning curve and a change of workflow involved, but the end result should be a more streamlined workflow and vastly improved website accessibility.
NOTE: each library will need to request access to their own individual SharePoint website document repository and specify the user account that will have access to add, edit, and remove documents. To request your SharePoint document repository, email websitehelp@librarieswin.org.
SharePoint Document Repository - an Overview
This is a beta project as of fall/winter 2025. This process will likely evolve to some degree, though we expect the big picture workflow to persist.
This section looks at the very high-level process and user experience of having Word documents linked on a website rather than uploaded to the WordPress media library.
Your Library SharePoint Document Repository
The process begins with having a cloud storage space for Microsoft documents to be linked on your website.
Note: LEANWI Website Service will use SharePoint as the cloud storage space for website documents. Each library will be assigned it’s own SharePoint document library which can be managed by designated users at the library. If the users/user’s email changes, it will not impact ownership of or access to documents.
This training will review the process for SharePoint documents.
To request a SharePoint repository be created for your library, send an email to websitehelp@librarieswin.org.
Other options for cloud storage exist (Google Drive for Google Docs, DropBox, OneDrive, etc.), but these are usually tied to a single user account and may come with total storage limits.
Logging into your Document Repository
Once you receive your welcome email and link to your library’s repository, you will log in using your username and password.
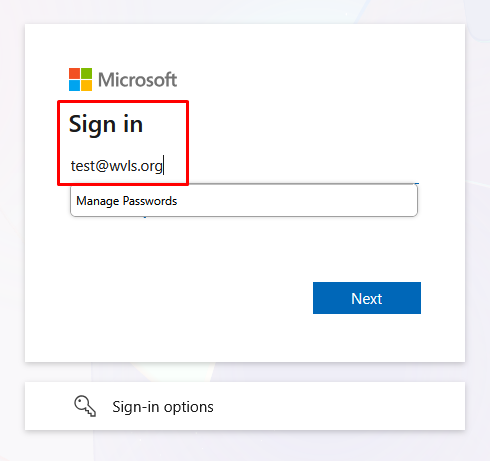
This will bring you to your SharePoint document library main folder.
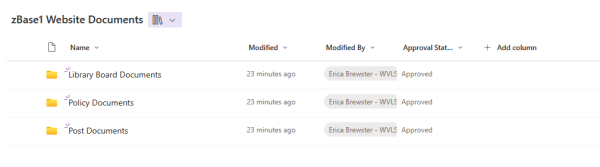
You can manage files and folders in this library the same way you would in File Explorer on your Windows computer. You can create folders, open an existing folder and create new folders inside of those folders, and you can create and upload new documents into those folders.
Note: in some cases users may have permissions limited to prevent them from deleting documents and folders.
Power users can learn how to map this online folder to their computer so they don’t need to log into a browser to add/change/edit files.
Creating and editing files
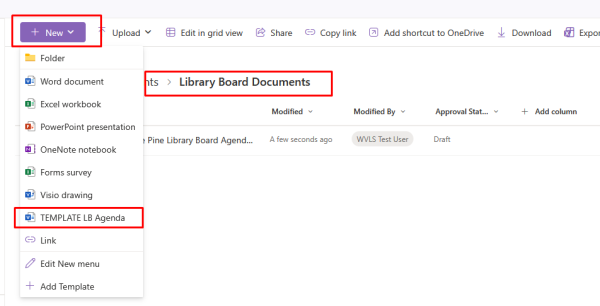
Once you are logged in, you can create documents in the file folders. In some cases there may be an accessible template for the document you want to create (library board agenda, policy documents, etc.). Or you may want to create your own template for documents you create and post regularly to the website.
To create a new document in a file folder, click on “New” and select your choice from the dropdown.
Note: users may edit in the browser, or may have the ability to open in the Desktop app and edit the document there.
Be sure that your document passes Word’s accessibility checks.
Linking your document on your website
Once your document has been created, edited, and checked for accessibility, you can copy the link and post to your website.
Copying the link:
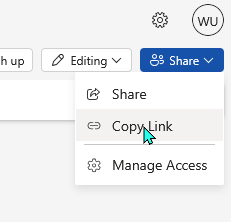
In the upper right corner, click on the “Share” dropdown and select “Copy Link.”
A pop-up saying “Link created” will appear. Confirm that the permissions are set to “Anyone with the link can view.” Click “Copy” to copy the link.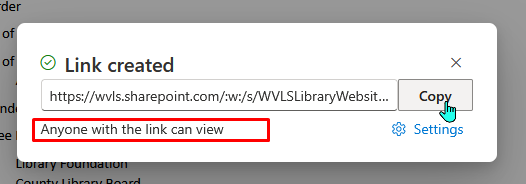
Adding the link to your website:
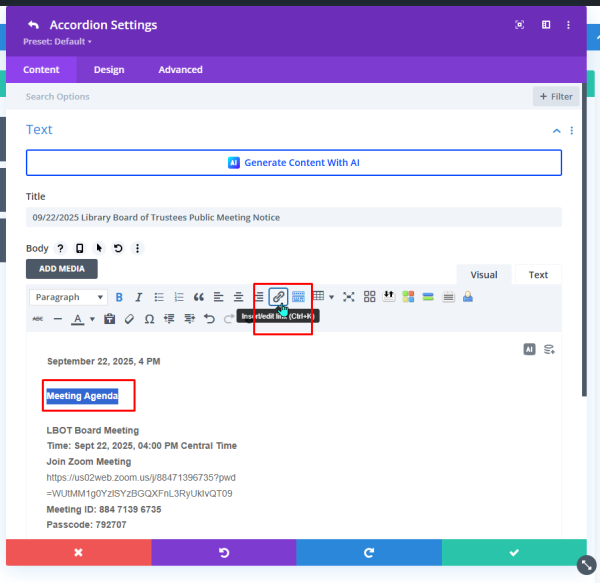
Go to the page on your website where you want to link your document. Open the page editor and highlight the text to be linked. Click “insert link.”
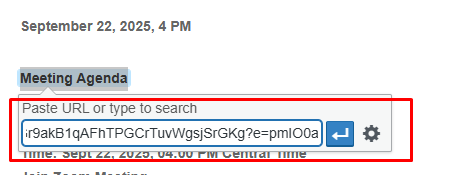
Paste the link you copied from your SharePoint document. Save changes.
Update/publish your page.
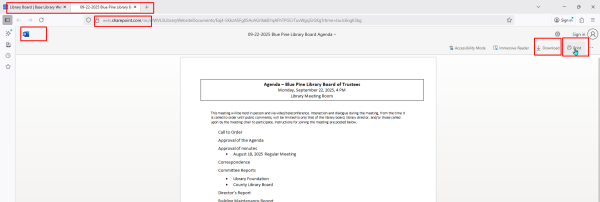
Viewing your document
Now anybody who visits your page will see a view-only version of your document. They can choose to view it in a browser, print it, or download as a PDF. But the document will be displayed as a document that meets accessibility compliance standards.